8 Simple Tile Roof Installation Steps For Homeowners
December 24, 2025
7 minutes Read
A proper tile roof installation is one of the best ways to enhance durability, curb appeal, and long-term protection for your home. Tile roofing is known for its resistance to heat, moisture, and wind, making it a popular option for Florida homeowners. Understanding how the installation process works helps you know what to expect, how long the project may take, and why each step matters for performance and longevity.
- Durability benefits: Tile roofs are built to last decades with proper installation.
- Climate performance: Tile handles Florida heat, rain, and humidity well.
- Installation clarity: Knowing the steps helps homeowners plan confidently.
Why Proper Tile Roof Installation Matters
Tile roofing is heavier and more complex than many other roofing systems. Because of this, proper installation is critical to prevent issues like leaks, cracked tiles, or structural strain. A well-installed tile roof protects not just the surface materials but also the roof deck, underlayment, and overall structure of your home.
For homeowners in Santa Rosa Beach and surrounding areas, tile roofs offer strong protection against coastal weather conditions. However, cutting corners during installation can reduce lifespan and increase maintenance needs. That’s why understanding the full installation process is so important before any work begins.
8 Simple Tile Roof Installation Steps
Below is a homeowner-friendly overview of how tile roofs are typically installed. While professionals handle the actual work, knowing these steps helps you understand timelines, materials, and quality expectations.
1. Structural Inspection and Preparation
Before any tile is installed, the roof structure must be inspected to confirm it can support the weight of tile materials. Tile roofs are significantly heavier than asphalt shingles.
- Structural assessment: Ensures rafters and decking can handle tile weight.
- Reinforcement needs: Some homes require added support before installation.
- Safety preparation: Confirms the roof is ready for materials and crews.
This step is especially important for older homes or homes switching from lighter roofing materials.
2. Removal of Existing Roofing Materials
If the home already has a roof in place, the old materials are removed down to the decking. This allows installers to start with a clean, solid surface.
- Complete tear-off: Removes shingles, felt, and fasteners.
- Deck exposure: Makes it easier to inspect for hidden damage.
- Clean surface: Prepares the roof for proper underlayment adhesion.
Skipping a full tear-off can trap moisture and lead to future problems beneath the tile.
3. Roof Deck Inspection and Repairs
Once exposed, the roof deck is carefully inspected for rot, soft spots, or water damage. Any compromised sections are repaired or replaced.
- Deck repairs: Fixes weakened or damaged wood.
- Moisture prevention: Eliminates hidden leaks before installation continues.
- Stable foundation: Ensures tiles sit evenly and securely.
A strong deck is essential for supporting the weight and spacing of tile materials.
4. Underlayment Installation
Underlayment is one of the most critical components of tile roof installation. It acts as the primary waterproof barrier beneath the tiles.
- High-quality underlayment: Often synthetic or peel-and-stick materials.
- Layered protection: Installed with precise overlap for water resistance.
- Long-term defense: Protects the home if tiles crack or shift.
In Florida climates like Santa Rosa Beach and surrounding areas, underlayment quality plays a major role in preventing leaks during heavy rain.
5. Batten or Direct Deck Preparation
Depending on the tile type, installers may use battens or secure tiles directly to the deck.
- Battens: Horizontal strips that help align and support tiles.
- Direct fastening: Some tiles are attached straight to the deck.
- Proper spacing: Ensures even appearance and water flow.
Correct layout during this stage prevents tile movement and uneven rows.
6. Tile Placement and Fastening
Tiles are carefully placed starting from the bottom edge of the roof and working upward. Each tile is aligned, spaced, and fastened according to manufacturer specifications.
- Consistent alignment: Creates a clean, uniform look.
- Secure fastening: Prevents movement during high winds.
- Breakage control: Installers handle tiles carefully to avoid cracks.
Tile placement requires patience and precision, especially around roof edges and slopes.
7. Flashing, Ridge, and Hip Installation
Flashing and ridge components seal vulnerable areas of the roof, such as valleys, ridges, and penetrations.
- Metal flashing: Installed around chimneys, vents, and skylights.
- Ridge tiles: Secure the roof peak while allowing ventilation.
- Water management: Directs rain safely off the roof surface.
This step is critical for leak prevention and long-term performance.
8. Final Inspection and Cleanup
Once installation is complete, the roof is inspected to ensure every component is properly installed and secured.
- Quality check: Verifies tile placement and fastening.
- Debris removal: Clears excess materials from the property.
- Visual review: Confirms uniform appearance and finish.
A thorough final inspection ensures the roof is ready to protect the home for decades.

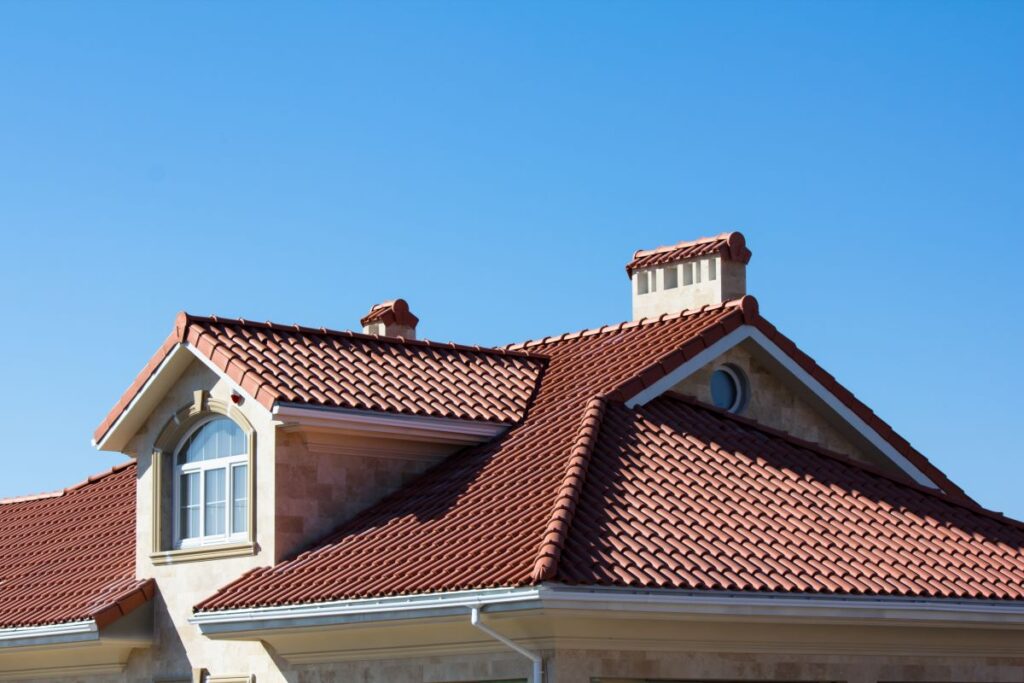
Types of Tile Roofing Materials
Tile roofs come in several material options, each with unique characteristics that affect durability, weight, cost, and appearance. Understanding these differences helps homeowners choose a tile type that fits both structural requirements and design preferences.
- Clay tiles: Offer a classic, high-end appearance with excellent resistance to fire, insects, and rot, but they are heavier and often require additional structural support.
- Concrete tiles: Provide strong durability at a lower cost than clay while mimicking the look of traditional tile styles and performing well in harsh weather conditions.
- Synthetic tiles: Are lighter than traditional tile materials and designed to replicate clay or concrete looks while reducing strain on the roof structure and improving impact resistance.
Choosing the right tile material depends on budget, roof framing capacity, climate conditions, and long-term performance expectations.
Common Tile Roof Installation Mistakes
Even the highest-quality tile materials can fail prematurely if installation errors occur. Being aware of these common mistakes helps homeowners understand why proper installation techniques are critical for long-term roof performance.
- Improper underlayment: Using low-grade or incorrectly installed underlayment increases the risk of leaks, especially during heavy rain or wind-driven storms.
- Poor fastening techniques: Incorrect fastener placement or spacing can allow tiles to loosen, shift, or crack over time.
- Ignoring structural limits: Installing tile on a roof not engineered to support the added weight can cause sagging, deck damage, or structural failure.
- Skipping ventilation: Tile roofs still require proper attic ventilation to prevent heat buildup, moisture accumulation, and premature material deterioration.
Benefits of Tile Roofing for Homeowners
Tile roofing offers several long-term advantages for homeowners.
- Longevity: Many tile roofs last 50 years or more.
- Weather resistance: Handles wind, rain, and heat effectively.
- Energy efficiency: Helps regulate indoor temperatures.
- Curb appeal: Adds value and architectural interest.
For homes in Santa Rosa Beach and surrounding areas, tile roofing is well-suited to coastal conditions when installed correctly.
What Homeowners Should Expect During Installation
Tile roof installation typically takes longer than asphalt roofing due to material handling and precision requirements. Homeowners should expect some noise, material staging, and limited driveway access during the process.
Clear communication and understanding the steps ahead of time help reduce stress and ensure realistic expectations.
Planning Ahead for Tile Roof Installation
Before starting a tile roofing project, homeowners should consider timelines, material availability, and seasonal weather patterns. Planning installations during drier months can help avoid delays and ensure smoother progress.
Understanding the installation process also helps homeowners recognize quality workmanship and ask informed questions throughout the project.
Confidence Starts With Knowledge
Tile roofing is a long-term investment that offers durability, weather resistance, and lasting curb appeal when installed correctly. Understanding the installation process, material options, and common pitfalls helps homeowners make informed decisions and recognize quality workmanship from start to finish. Being educated about what goes into a proper tile roof installation also allows you to plan timelines, budgets, and expectations more confidently.
If you’re considering a tile roof or have questions about how your current system is performing, reaching out for expert advice can help you better understand your options and next steps. Guidance from experienced professionals ensures you have accurate information before making decisions that affect your home’s protection and long-term value.