How To Install Roof Vent Cap in 7 Steps
September 12, 2025
7 minutes Read
Learning how to install a roof vent cap can help improve airflow in your home, protect your roof from moisture damage, and extend the life of your roofing system. Proper ventilation is essential for reducing humidity and keeping your attic at a stable temperature, which helps lower energy bills and prevents costly repairs. If you’re a homeowner looking to understand this process, this guide will walk you through the key steps.
- Energy efficiency: Proper venting reduces attic heat and helps your HVAC system work less.
- Moisture protection: Vent caps keep rain, snow, and debris from entering the attic.
- Longevity: Adequate ventilation extends the life of shingles and roof decking.
Why Roof Vent Caps Are Important
Before jumping into installation, it’s important to know why roof vent caps matter. These small but essential components are designed to cover vent openings and prevent outside elements from entering your home. Without them, pests, rain, and debris can easily make their way into your attic. More importantly, they allow for proper air exchange, keeping warm, moist air from getting trapped inside.
In a hot climate like Florida, homes in Altamonte Springs and surrounding areas can suffer from severe roof damage if the attic is not ventilated properly. A roof vent cap plays a major role in maintaining a balanced roof system.
Tools and Materials Needed
Installing a vent cap doesn’t require an extensive tool collection, but preparation is key. Having the right equipment ensures the job is done safely and correctly.
- Roof vent cap: Choose the appropriate size and style for your roof.
- Measuring tape: Ensures the cut is accurate for the vent opening.
- Roofing nails or screws: Secures the vent cap to the roof decking.
- Hammer or drill: Drives fasteners in place.
- Roofing cement or sealant: Prevents water intrusion around the edges.
- Utility knife or saw: Cuts the opening in shingles and decking.
- Protective gear: Gloves, safety glasses, and a harness for roof work.
7 Steps To Install a Roof Vent Cap
Now that you have your tools and materials ready, here are the step-by-step instructions for installing a roof vent cap properly.
1. Choose the Right Vent Location
The first step is determining where the vent cap should go. Ideally, vents should be evenly spaced near the roof ridge for maximum airflow. Avoid placing them too close to valleys, chimneys, or other roof features where leaks are more likely to occur.
- Vent placement: Position near the ridge for optimal circulation.
- Avoid obstacles: Keep away from chimneys or skylights.
- Balance airflow: Combine with soffit vents for proper ventilation.
2. Mark the Opening
Once you’ve chosen the location, use a measuring tape and pencil to mark the area where the vent cap will sit. The size of the opening should match the vent specifications provided by the manufacturer. Marking carefully ensures the vent will fit securely without gaps that could lead to leaks.
- Accuracy: Double-check measurements before cutting.
- Centering: Make sure the vent aligns neatly with shingles.
- Stability: Mark on flat decking for secure placement.
3. Cut the Opening
Carefully cut through the shingles and roof decking using a utility knife or saw. Start small and adjust as needed. Cutting too wide can create problems when sealing the vent.
- Safety: Wear gloves and eye protection when cutting.
- Clean edges: Make straight cuts to ensure a snug fit.
- Caution: Avoid cutting through rafters or trusses.
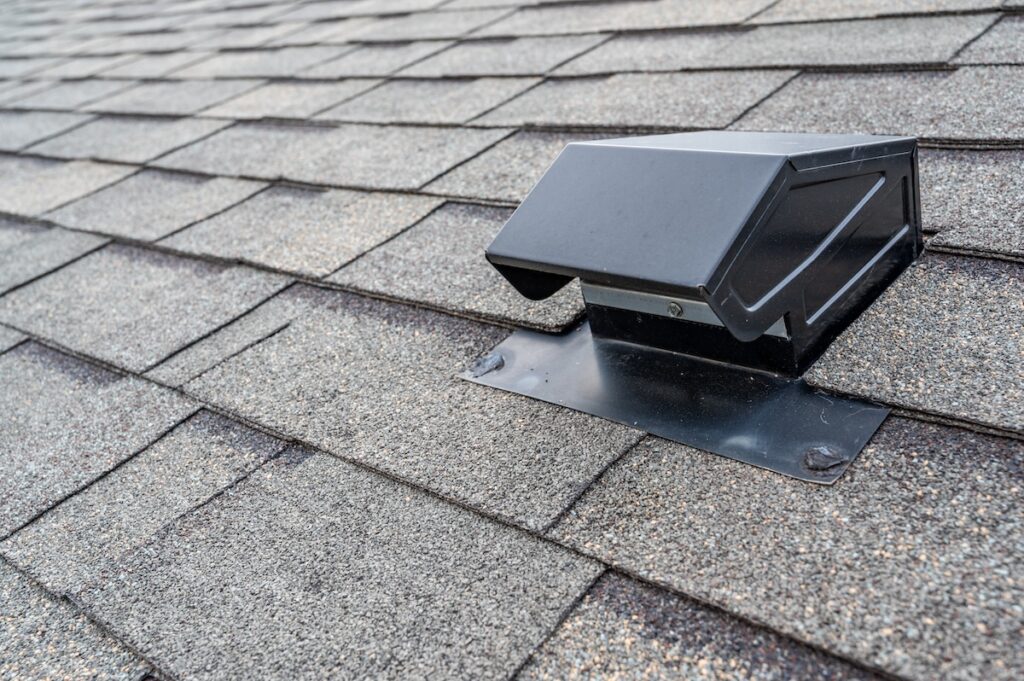
4. Position the Vent Cap
Place the vent cap over the opening and make sure it fits correctly. The bottom edge of the vent should rest beneath the shingle layer to encourage water runoff. The top and side flanges should sit over the shingles.
- Proper overlap: Bottom flange under shingles, top over.
- Water direction: Align so rain flows around, not into the vent.
- Stability: Ensure the vent cap lays flat without gaps.
5. Secure the Vent Cap
Fasten the vent cap into place with roofing nails or screws. Secure all four sides, but avoid overdriving fasteners, which can crack the vent or deform the flashing.
- Nail placement: Use the pre-drilled holes if available.
- Spacing: Keep nails about 2–3 inches from each corner.
- Grip: Ensure nails penetrate into solid roof decking.
6. Seal the Edges
Apply roofing cement or sealant around the edges of the vent cap to prevent water intrusion. Focus especially on nail heads and overlapping shingle areas. A waterproof barrier will help protect your attic from leaks during Florida’s heavy rainstorms.
- Leak prevention: Cover all fasteners thoroughly.
- Flexibility: Use sealant that can expand and contract with temperature.
- Longevity: Proper sealing extends the life of your vent.
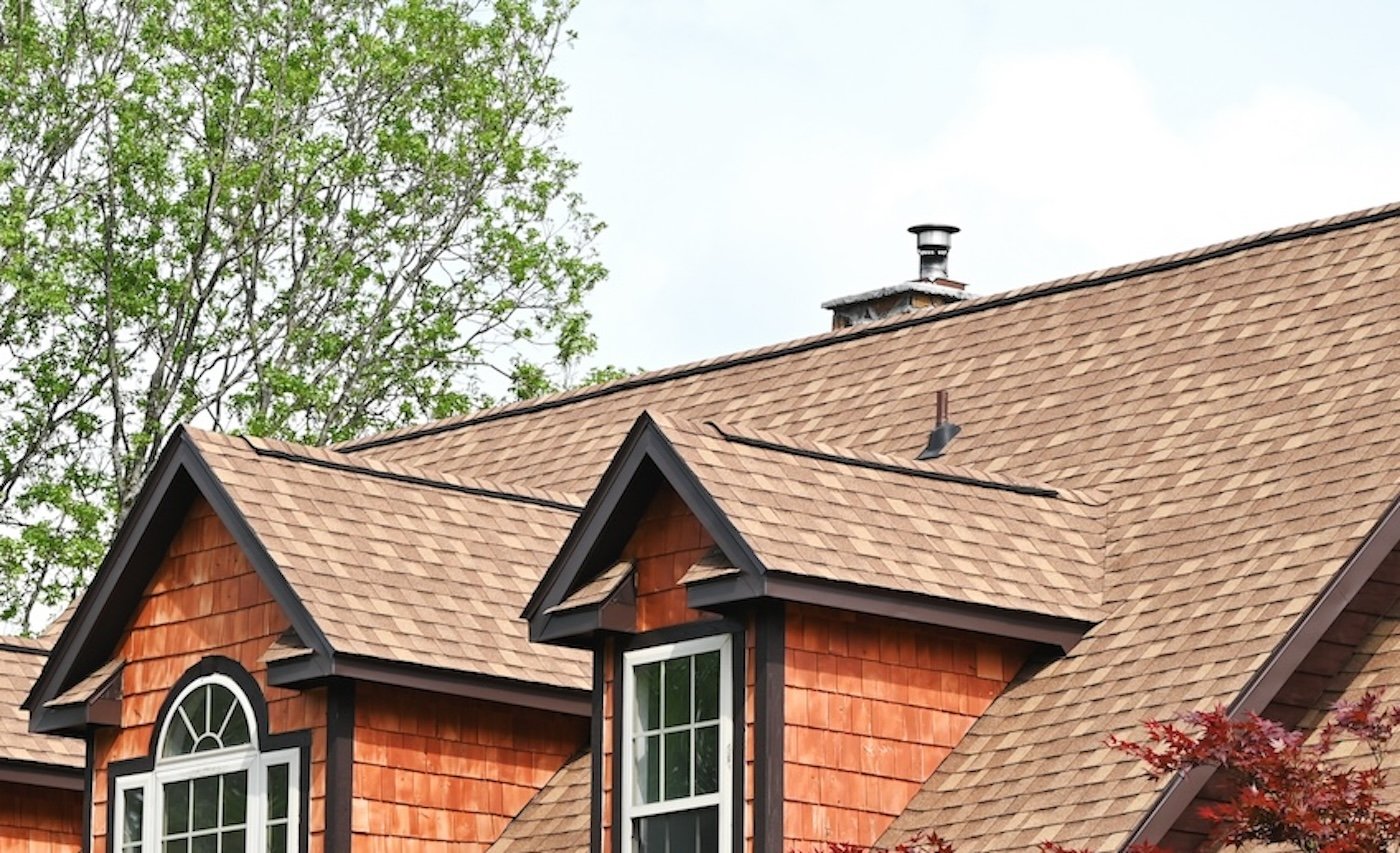
7. Inspect Your Work
Finally, take time to review the installation. Check that the vent cap is flush against the roof, the edges are sealed, and shingles overlap properly. A quick spray with a garden hose can help test for leaks.
- Visual check: Look for gaps, cracks, or lifted shingles.
- Water test: Simulate rainfall to confirm watertight seal.
- Final safety: Ensure tools and debris are cleared from the roof.
Common Mistakes To Avoid
Even a small error in installing a roof vent cap can lead to leaks or reduced airflow. Knowing what to watch out for can save you from costly repairs down the line.
Poor Placement
Placing the vent too low on the roof reduces its effectiveness. Roof vent caps should be positioned close to the ridge to maximize hot air escape. Improper placement can also disrupt the balance of intake and exhaust ventilation, making your attic less efficient.
Inadequate Sealing
If the vent edges are not sealed properly, water can seep beneath the shingles and into your home. Over time, this leads to wood rot, mold growth, and insulation damage. Always double-check that all seams are fully covered with sealant.
Incorrect Fastening
Using too few nails or screws can cause the vent to loosen in strong winds, especially in storm-prone areas like Altamonte Springs and surrounding areas. Always follow the manufacturer’s fastening guidelines for best results.
When To Call a Professional
While some handy homeowners may attempt this project, working on a roof carries safety risks. Installing a vent cap also requires knowledge of proper ventilation systems. If you’re unsure or uncomfortable with any step, it’s best to call a professional roofing contractor.
A trained roofer can ensure that the roof vent cap is installed correctly, integrates seamlessly with your existing roof, and provides the airflow your home needs. They’ll also know the best vent types for your specific roofing material and attic design.
Benefits of Professional Installation

Homeowners in Altamonte Springs and surrounding areas often choose professional installation for peace of mind. Besides safety, there are several other advantages:
- Expertise: Roofers understand ventilation requirements for local climate conditions.
- Warranty protection: Many roofing warranties require professional installation.
- Time savings: A professional can complete the job quickly and efficiently.
- Long-term results: Proper installation prevents leaks and improves airflow.
Ensuring Proper Ventilation With Expert Help
Learning how to install a roof vent cap gives you an understanding of how ventilation supports a healthy roofing system. However, installation mistakes can lead to water damage, mold growth, and decreased roof lifespan. That’s why many homeowners in Altamonte Springs and surrounding areas trust Quality Roofing for expert installation.
Our team has the tools, experience, and training to install vent caps safely and correctly, ensuring your home stays protected year-round. If you’re ready to improve your roof’s ventilation, reach out to Quality Roofing today for a free estimate. We’ll make sure your roof is equipped to handle Florida’s heat, humidity, and storms with confidence.