Drip Edge Installation (Step By Step)
January 21, 2026
6 minutes Read
A properly installed drip edge plays a critical role in protecting your roof, fascia, and foundation from water damage. Drip edge is a metal flashing installed along the edges of a roof to direct water away from the roof deck and into the gutters. Understanding how drip edge installation works helps homeowners recognize why this small component has such a big impact on roof performance.
- Water control: Directs rain away from roof edges and trim.
- Damage prevention: Protects decking, fascia, and soffits from rot.
- Code compliance: Required by most modern building codes.
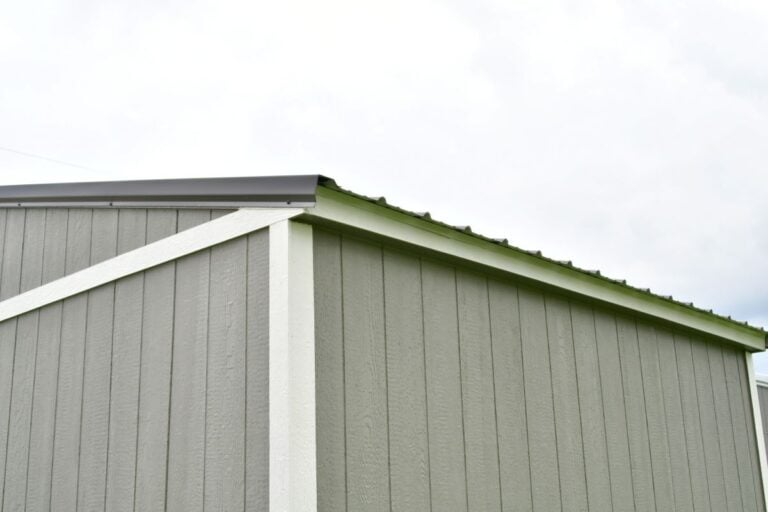
What Is Drip Edge and Why It Matters
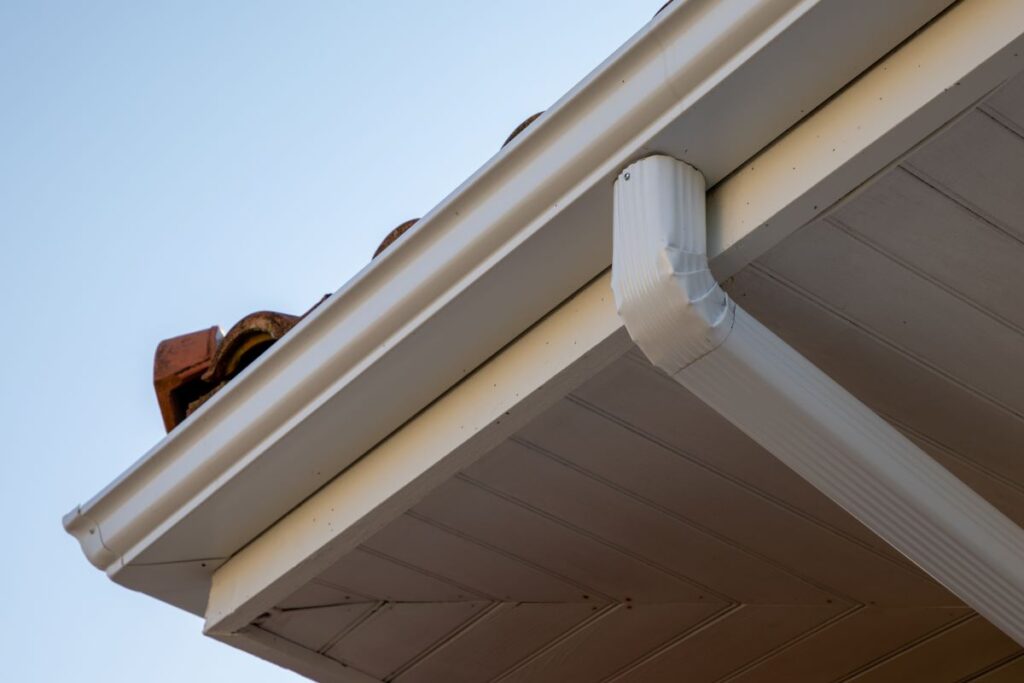
Drip edge is a thin strip of metal flashing installed along the eaves and rakes of a roof. Its main purpose is to guide water away from the roof edge and prevent it from wicking back under shingles or soaking into wooden components.
For homeowners in Altamonte Springs and surrounding areas, drip edge is especially important due to frequent rain and high humidity. Without it, water can seep into the roof deck, cause fascia rot, stain siding, and even damage foundations over time.
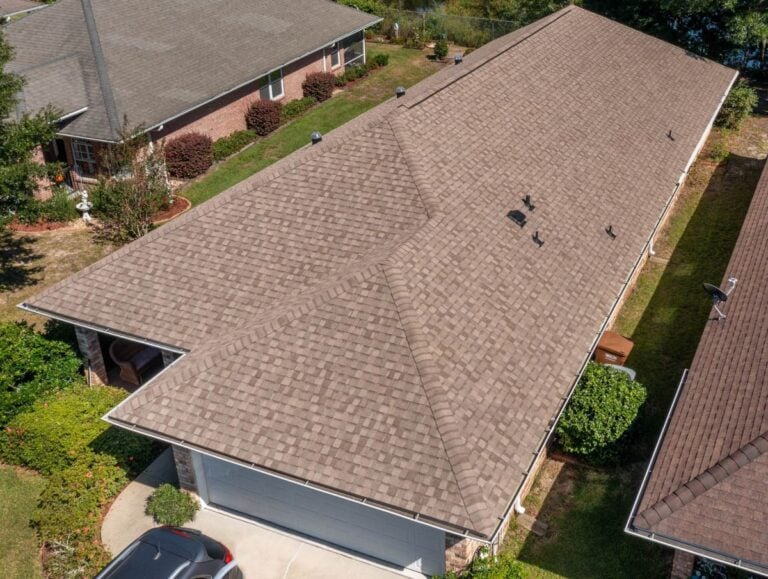
When Drip Edge Should Be Installed
Drip edge is typically installed during a full roof replacement, but it can also be added during certain repair projects. Building codes now require drip edge on most residential roofs, especially on new construction or re-roofing jobs.
If a roof was installed years ago without drip edge, homeowners may notice premature deterioration along the roof edges. Installing drip edge during a replacement helps extend the life of the roofing system and improves overall water management.
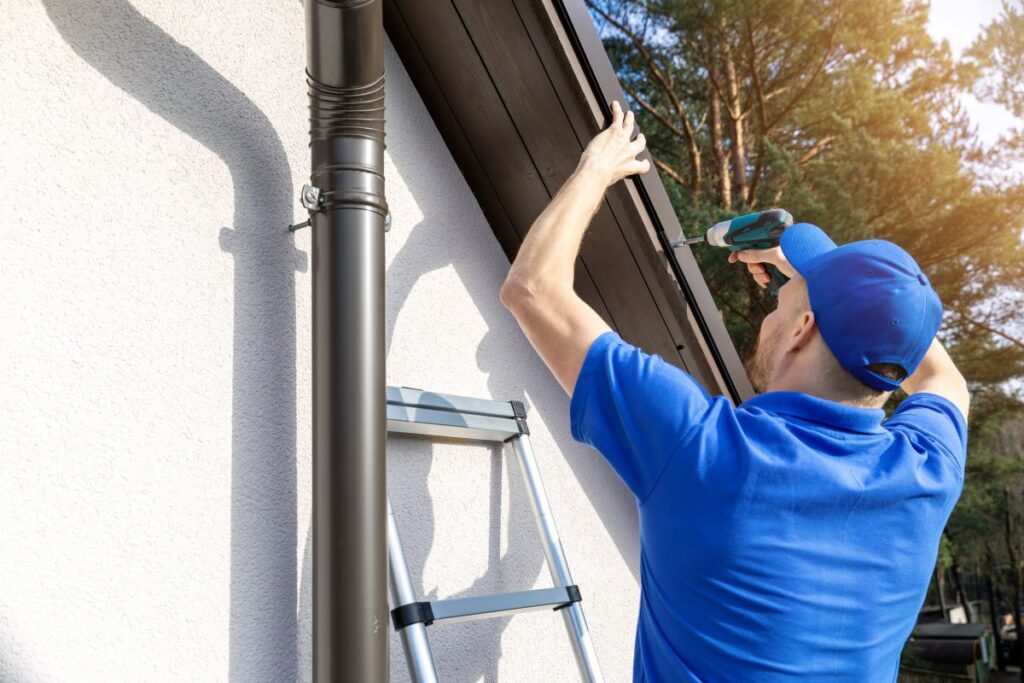
8 Drip Edge Installation Process
Drip edge installation follows a specific sequence to ensure proper water flow and long-term performance. Each step plays a role in preventing leaks and protecting the roof structure.
1. Inspect the Roof Deck and Edges
Before installing drip edge, the roof deck and fascia must be inspected for damage. Any rot, soft spots, or loose boards should be repaired first.
- Deck condition: Ensures a solid surface for fastening.
- Fascia inspection: Identifies moisture damage or decay.
- Edge alignment: Confirms straight, even roof edges.
Starting with a sound structure prevents future issues after installation.
2. Measure and Cut the Drip Edge
Accurate measurements are essential for proper drip edge installation. Each piece must fit snugly along the roof edge without gaps.
- Precise measuring: Prevents short sections or overlaps.
- Clean cuts: Ensures tight joints and clean corners.
- Material handling: Avoids bending or warping the metal.
Proper sizing helps maintain consistent water flow along the roof perimeter.
3. Install Drip Edge Along the Eaves
The eaves are installed first because they handle the highest volume of water runoff. Drip edge is placed directly on the roof deck at the eaves.
- Deck placement: Installed beneath the underlayment at eaves.
- Correct angle: Directs water into the gutter system.
- Secure fastening: Prevents movement during storms.
Installing drip edge correctly at the eaves is critical for effective drainage.
4. Install Underlayment Over the Eaves
After the eave drip edge is installed, underlayment is laid over it. This layering helps guide water outward rather than allowing it to reach the decking.
- Proper overlap: Directs water onto the metal edge.
- Seam protection: Reduces leak risk at joints.
- Improved water shedding: Enhances overall roof performance.
This step ensures the roof’s water barrier works as intended.
5. Install Drip Edge Along the Rakes
Rake edges run along the sloped sides of the roof. Drip edge installation here follows a slightly different sequence.
- Over-under layering: Installed over the underlayment at rakes.
- Wind resistance: Helps prevent shingle lift.
- Edge protection: Shields exposed roof decking.
Proper rake installation reduces wind-driven rain intrusion.
6. Overlap and Secure Joints
Where drip edge sections meet, proper overlap is required to maintain continuous protection. Poorly joined sections can allow water to slip behind the metal.
- Minimum overlap: Prevents water from entering seams.
- Consistent fastening: Keeps metal firmly in place.
- Smooth transitions: Reduces snag points for debris.
Correct joint installation is key to long-term durability.
7. Install Shingles or Roofing Material
Once drip edge and underlayment are in place, shingles or other roofing materials are installed. The bottom course of shingles should slightly overhang the drip edge.
- Proper overhang: Allows water to drip cleanly into gutters.
- Secure attachment: Prevents shingle movement.
- Clean finish: Creates a neat roof edge appearance.
This step completes the functional water-shedding system.
8. Final Inspection and Cleanup
After installation, the roof edges are inspected to confirm proper placement and fastening. Cleanup ensures no sharp metal scraps or nails remain.
- Edge review: Confirms alignment and overlap.
- Fastener check: Ensures nails are secure and sealed.
- Debris removal: Protects property and landscaping.
A thorough inspection ensures the drip edge performs as intended.
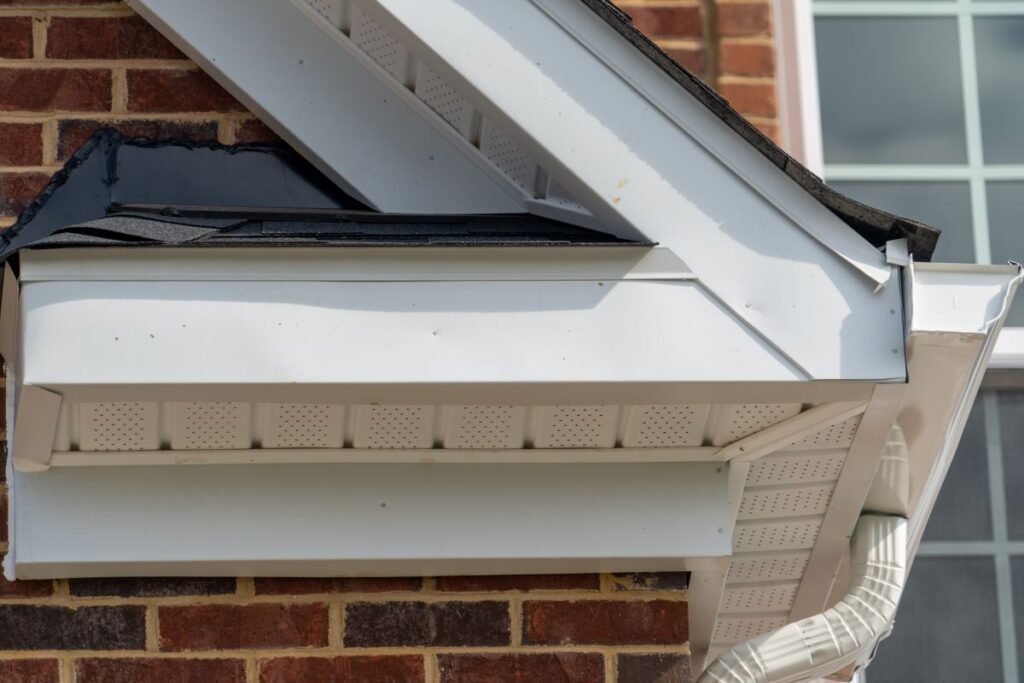
Common Drip Edge Installation Mistakes
Even small errors during installation can reduce the effectiveness of drip edge. Understanding these mistakes helps homeowners recognize quality workmanship.
- Skipping drip edge entirely: Leads to premature edge damage.
- Incorrect layering: Allows water to flow behind metal.
- Insufficient overlap: Creates weak points at seams.
- Improper fastening: Causes movement and noise.
Correct installation is just as important as having drip edge in place.
Benefits of Proper Drip Edge Installation
Drip edge may be small, but its benefits are significant. When installed correctly, it enhances roof durability and reduces maintenance needs.
- Extended roof life: Protects decking and fascia.
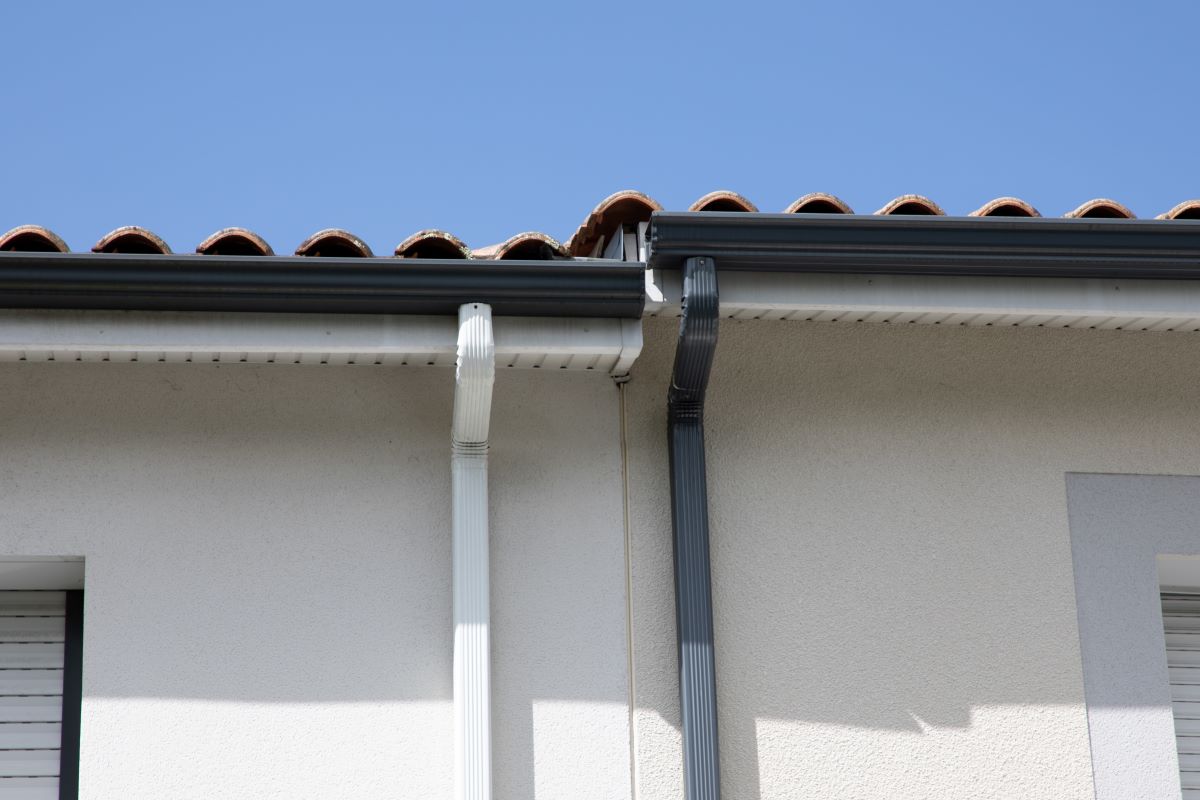
- Improved drainage: Directs water into gutters.
- Pest deterrence: Blocks entry points along roof edges.
- Cleaner appearance: Creates a finished roofline.
For homes in Altamonte Springs and surrounding areas, drip edge provides reliable protection against heavy rain and moisture exposure.
Drip Edge and Building Codes
Modern building codes require drip edge installation on most residential roofs. These requirements are based on proven performance and long-term protection benefits.
Homes without drip edge may not meet current code standards, especially during roof replacement projects. Including drip edge ensures compliance and reduces the risk of future issues related to water damage.
Why Drip Edge Is Worth the Attention
Because drip edge is installed at the roof’s most vulnerable areas, it plays an outsized role in preventing damage. Ignoring or improperly installing it can lead to costly repairs that far exceed the cost of doing it right initially.
Understanding how drip edge installation works helps homeowners appreciate its importance and recognize when it’s missing or improperly installed.
Get Guidance Before Roof Edge Problems Start
Roof edge protection is often overlooked until damage appears. Knowing what proper drip edge installation looks like allows homeowners to make informed decisions and avoid preventable issues.If you have questions about drip edge, roof edges, or water management around your roof,reach out to Quality Roofing for expert advice and solutions tailored to your specific needs.