How to Install Architectural Shingles (6 Step Guide)
February 26, 2026
6 minutes Read
How to install architectural shingles correctly is one of the most important factors in achieving a durable, attractive, and long-lasting roof. Architectural shingles are thicker and more dimensional than standard three tab shingles, which means installation precision plays a larger role in overall performance. While many homeowners do not install shingles themselves, understanding the process helps you recognize quality workmanship and avoid costly roofing mistakes.
- Improved durability: Thicker construction increases resistance to wind and impact.
- Enhanced appearance: Layered design creates depth and curb appeal.
- Longer lifespan: Proper installation supports extended roof performance.
What Makes Architectural Shingles Different
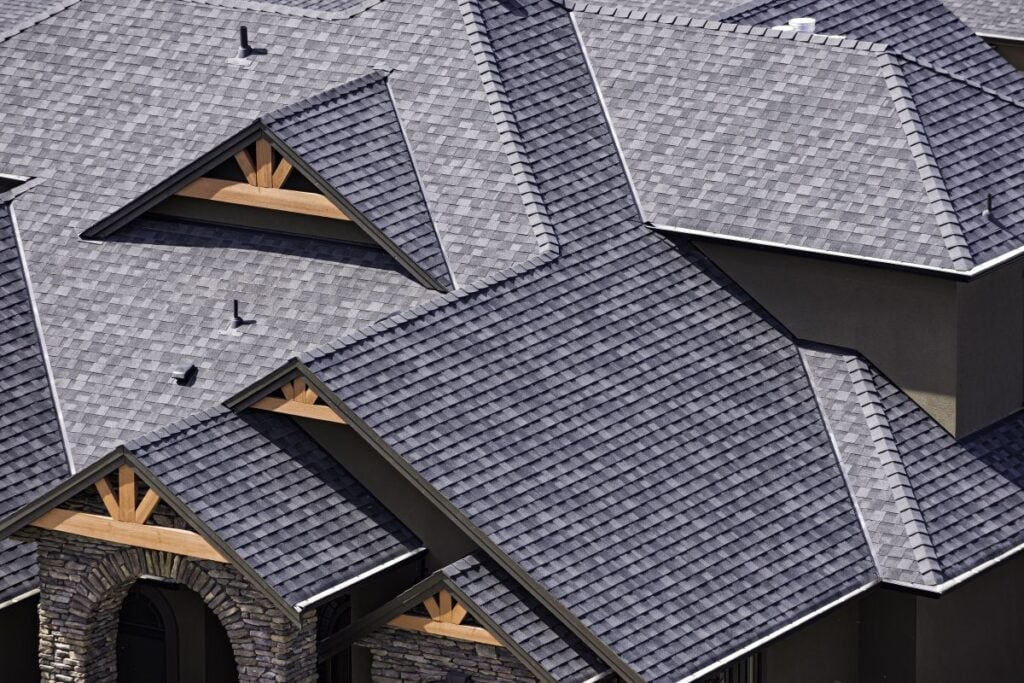
Architectural shingles are designed with multiple layers of material that create a dimensional appearance and improved structural strength. Unlike traditional shingles that lie flat, architectural shingles rely on staggered patterns and precise alignment to seal properly. Their added weight also requires careful fastening and spacing.
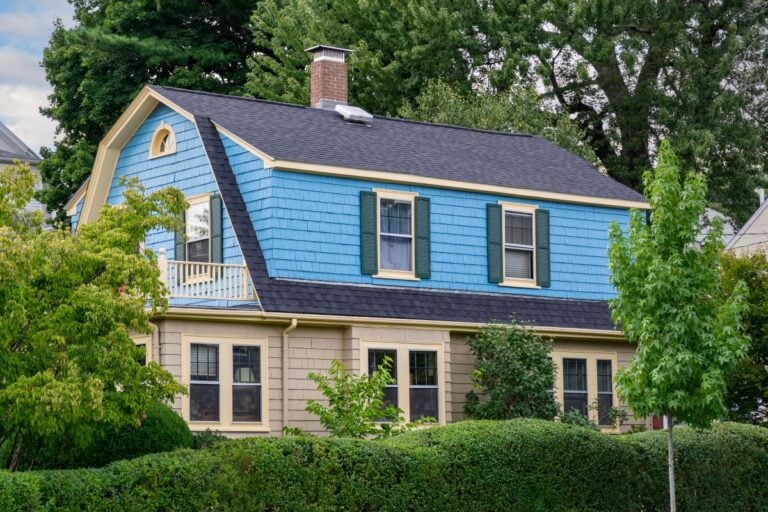
For homeowners in Lake Mary and surrounding areas, architectural shingles are often chosen for their balance of durability and aesthetics. They are engineered to handle Florida’s heat, heavy rain, and seasonal storms, but only when installed using proper methods and materials.
Why Proper Installation Matters
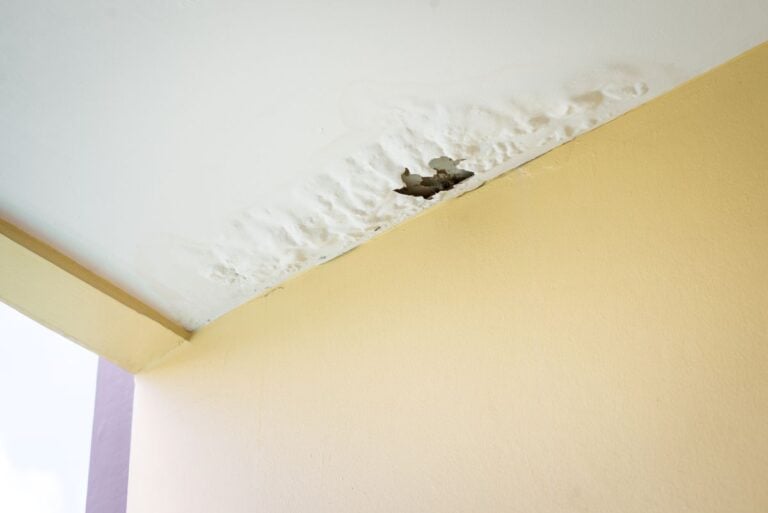
Roofing materials can only perform as well as the installation allows. Even high quality architectural shingles can fail prematurely if they are installed incorrectly. Improper spacing, poor fastening, or missing components often lead to leaks, wind damage, and uneven wear.
Architectural shingles depend on correct layering and sealing to activate their self sealing strips. If these shingles are rushed or installed out of sequence, water intrusion and shingle movement become much more likely. Understanding the proper steps helps homeowners evaluate whether a roof installation was done correctly.
6 Steps to Install Architectural Shingles
The following steps outline the standard process used for architectural shingle installation. While this guide is informational, it also helps homeowners understand what should be happening on their roof during installation.
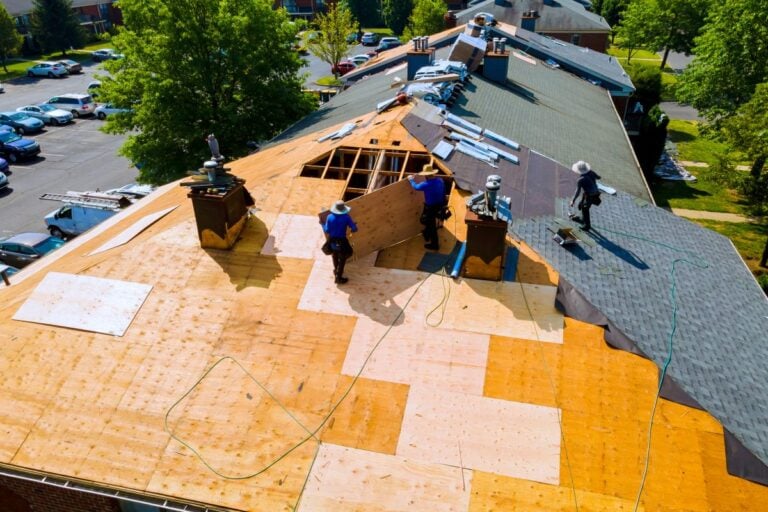
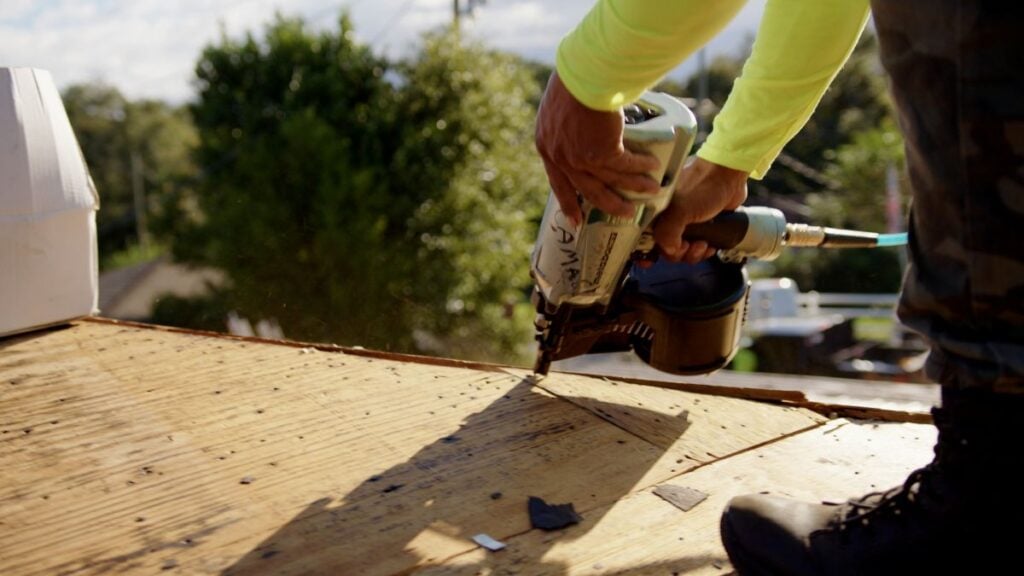
1. Prepare the Roof Deck
A strong and stable roof deck is the foundation of any successful roofing system. Before shingles are installed, the deck must be inspected thoroughly.
- Deck inspection: Identifies rot, soft spots, or water damage.
- Surface preparation: Removes debris and old fasteners.
- Fastener security: Ensures decking is properly attached to framing.
Any structural issues must be addressed before moving forward. Installing shingles over a compromised deck shortens roof lifespan and increases the risk of future problems.
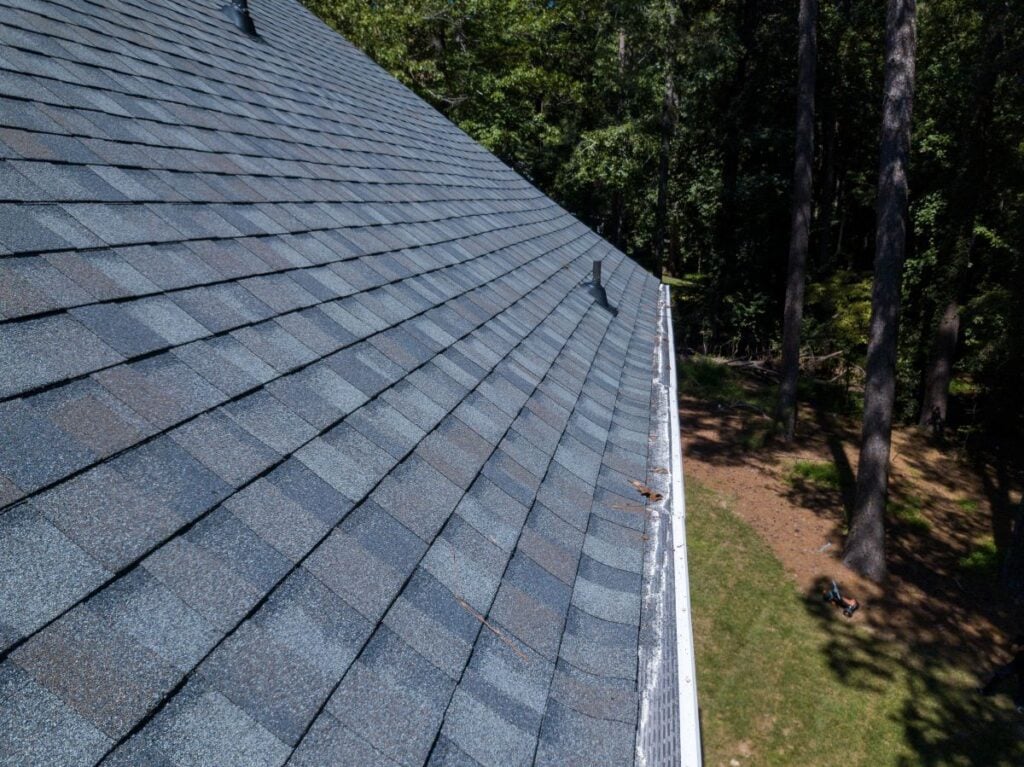
2. Install Underlayment and Drip Edge
Underlayment and drip edge flashing create the first moisture barrier beneath the shingles. These components work together to manage water movement and protect roof edges.
- Underlayment coverage: Provides secondary water protection across the deck.
- Drip edge placement: Directs water away from fascia and roof edges.
- Correct layering: Ensures water flows outward rather than back under shingles.
Improper layering at this stage is one of the most common causes of roof edge leaks.
3. Apply Starter Shingles
Starter shingles are installed along the eaves and rakes before the main shingle courses. They are designed to seal the roof perimeter and support wind resistance.
- Edge sealing: Blocks water intrusion at roof edges.
- Wind resistance: Helps prevent shingle lifting.
- Alignment control: Establishes straight shingle rows from the start.
Skipping starter shingles or installing them incorrectly often leads to edge failure during storms.
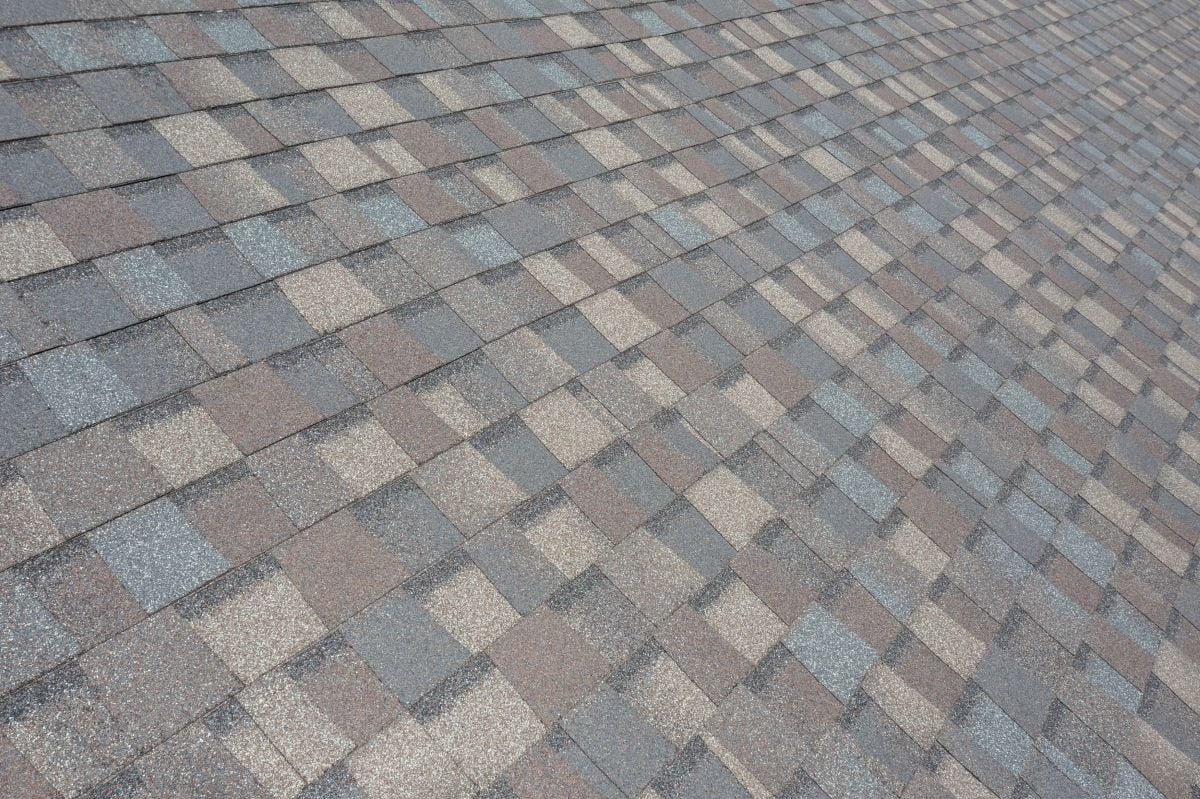
4. Lay Architectural Shingles in the Proper Pattern
Architectural shingles must be installed using a staggered layout that prevents vertical seam alignment. This pattern strengthens the roof and improves appearance.
- Correct offset: Prevents weak points and seam alignment.
- Consistent exposure: Maintains uniform shingle appearance.
- Manufacturer spacing: Supports warranty requirements.
This step plays a major role in both roof performance and curb appeal. Uneven rows or improper spacing are usually visible from the ground.
5. Secure Shingles With Proper Fastening
Fastener placement is one of the most critical aspects of architectural shingle installation. Nails must be placed in the correct zone and driven to the proper depth.
- Correct nail location: Ensures shingles seal and remain secure.
- Proper nail depth: Avoids overdriving or underdriving fasteners.
- Wind zone compliance: Supports resistance to high wind conditions.
Improper fastening is a leading cause of premature shingle failure and warranty issues.
6. Install Ridge Caps and Perform Final Sealing
The final step completes the roofing system and seals the most exposed areas. Ridge caps protect the roof peak and help support ventilation systems.
- Ridge cap alignment: Seals the roof peak properly.
- Vent integration: Supports attic airflow and moisture control.
- Final inspection: Confirms correct installation throughout the roof.
Attention to detail during finishing prevents leaks and extends roof life.
Common Mistakes When Installing Architectural Shingles
Even with quality materials, installation mistakes can undermine roof performance. Homeowners should be aware of common errors.
- Incorrect shingle spacing: Leads to sealing problems and uneven appearance.
- Improper nail placement: Causes shingle movement or blow off.
- Missing underlayment: Reduces moisture protection.
- Poor flashing integration: Creates leak prone areas.
Recognizing these issues helps homeowners evaluate installation quality after the job is complete.
How Architectural Shingles Perform in Florida’s Climate
Florida’s climate presents ongoing challenges for roofing systems, including heat, humidity, and frequent storms. Architectural shingles are designed to handle these conditions when installed properly.
Their layered construction improves wind resistance, while proper sealing helps manage heavy rainfall. In Lake Mary and surrounding areas, correct installation is essential to ensure architectural shingles perform as intended year after year.
Maintenance Tips After Installation
Even with proper installation, routine maintenance supports long term roof performance. Architectural shingles benefit from periodic inspections and upkeep.
- Visual inspections: Identify lifted or damaged shingles early.
- Gutter maintenance: Prevents water backup along roof edges.
- Debris removal: Reduces moisture retention and surface wear.
Consistent maintenance helps protect your investment.
Should Homeowners Install Architectural Shingles Themselves
Architectural shingle installation involves working at heights, handling heavy materials, and following precise installation guidelines. While understanding the process is valuable, installation itself carries safety and quality risks.
Improper installation often results in leaks, reduced lifespan, and costly repairs. Homeowners should carefully evaluate experience and safety considerations before attempting roof work themselves.
Understanding Installation Helps You Protect Your Roof
Knowing how to install architectural shingles helps homeowners recognize proper workmanship and make informed roofing decisions. Installation quality directly impacts roof durability, appearance, and long term performance.
If you have questions about architectural shingle installation or want guidance on your roofing project, reach out to Quality Roofing for expert advice and solutions tailored to your specific needs.