DIY Attic Insulation Guide (Materials, Process & More)
December 3, 2025
7 minutes Read
Taking on a DIY attic insulation project can make a huge difference in your home’s comfort, energy efficiency, and monthly utility bills. By adding or upgrading insulation, you help maintain consistent indoor temperatures and reduce the strain on your HVAC system. With the right materials and careful installation, homeowners can successfully insulate their attic without breaking the bank.
- Energy savings: Proper insulation lowers heating and cooling costs.
- Comfort improvement: Keeps your home warm in winter and cool in summer.
- DIY-friendly project: Can be done safely with preparation and the right tools.
Why Attic Insulation Matters
Your attic is one of the most important parts of your home’s energy envelope. Without proper insulation, conditioned air escapes through the roof, forcing your HVAC system to work harder. This leads to higher energy bills and less comfort year-round.
For homeowners in Niceville and surrounding areas, attic insulation is especially valuable. Florida’s warm climate means heat can easily transfer into your living spaces, making air conditioning less effective. Proper insulation acts as a barrier, keeping cool air in and hot air out. It also helps reduce humidity and prevents condensation that could damage rafters or drywall.
Choosing the Right Type of Insulation
Before starting your DIY attic insulation project, you need to choose the best material for your home. Different insulation types offer varying performance, costs, and installation methods.
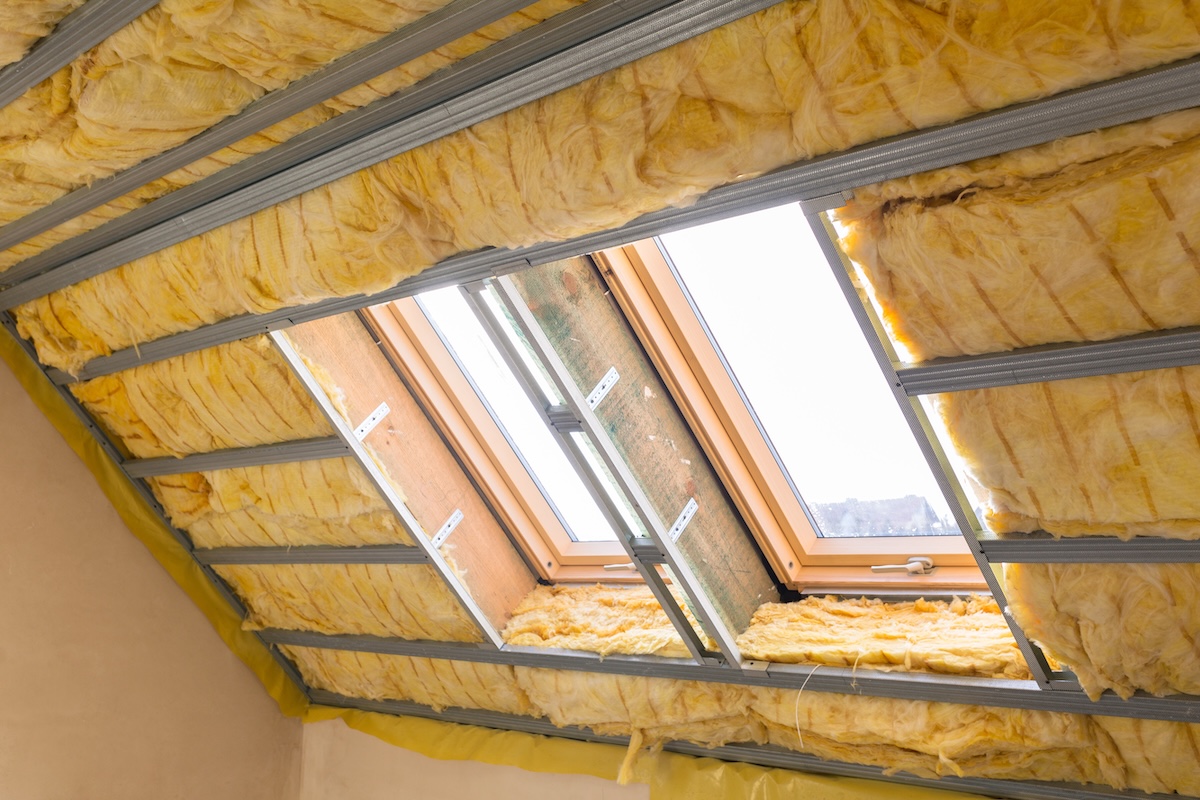
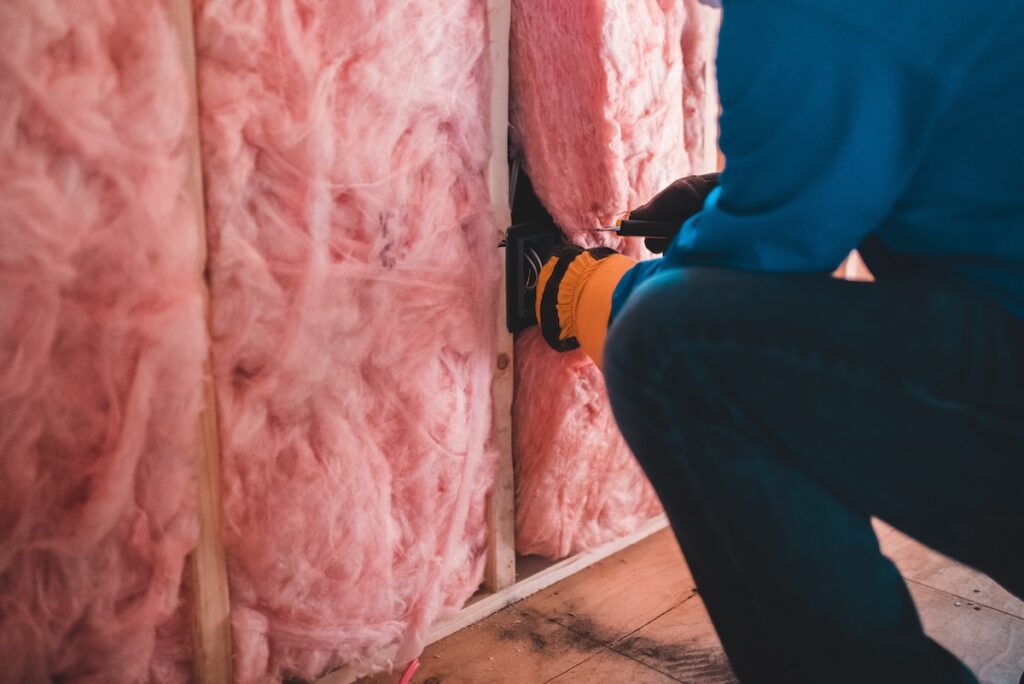
Fiberglass Batt Insulation
Fiberglass batts are one of the most common and cost-effective options for DIY installations. They come in pre-cut rolls or panels that fit between attic joists.
- Easy to install: Great for beginners with minimal tools.
- Fire-resistant: Made from non-combustible materials.
- Affordable: Budget-friendly option for most homes.
However, fiberglass can irritate skin and lungs, so wear protective clothing, gloves, and a mask.
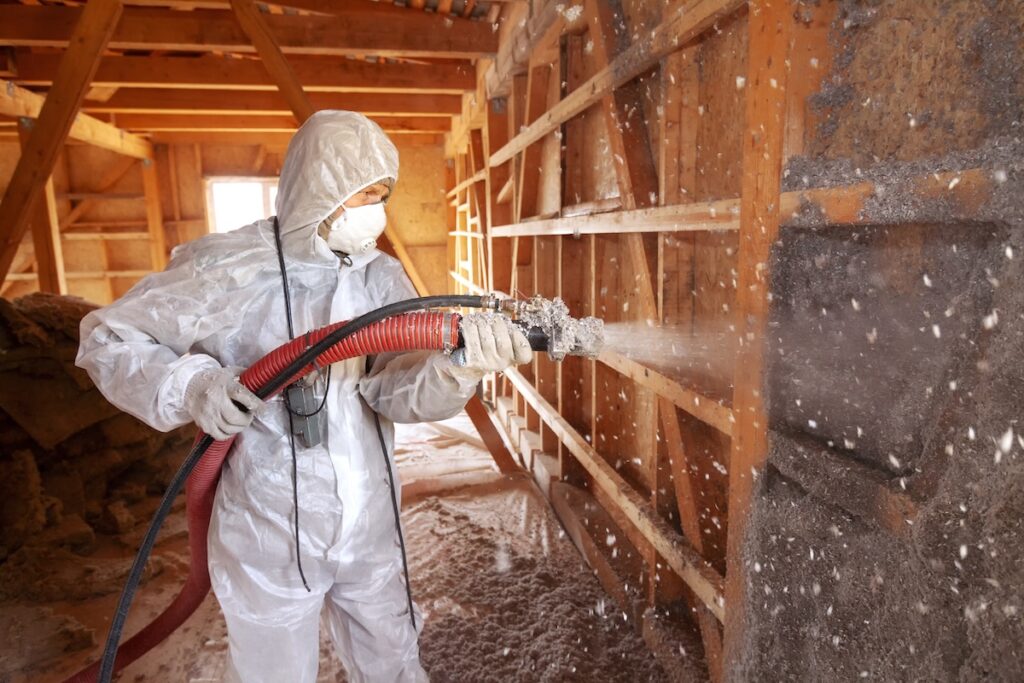
Blown-In (Loose-Fill) Insulation
Blown-in insulation uses loose fibers—usually fiberglass or cellulose—blown into the attic with a special machine.
- Even coverage: Fills gaps and hard-to-reach corners.
- Quick application: Professionals or DIYers with rental equipment can install it in hours.
- Ideal for retrofits: Perfect for topping off existing insulation.
This option is slightly more technical than batts but delivers excellent thermal performance.
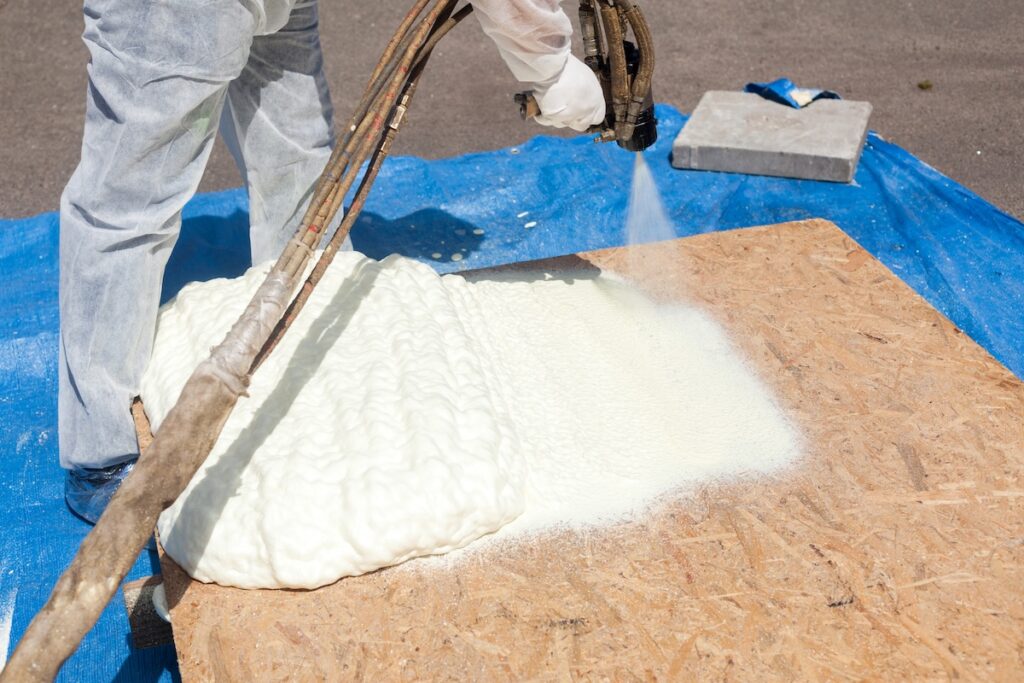
Spray Foam Insulation
Spray foam provides both insulation and air sealing in one application. It’s the most effective but also the most expensive.
- Superior air seal: Expands to fill cracks and gaps.
- High R-value: Offers the best thermal resistance per inch.
- Moisture barrier: Helps prevent mold and condensation.
While DIY kits are available, spray foam is best handled by professionals because improper application can affect performance.
Reflective (Radiant Barrier) Insulation
In hot climates like Florida, radiant barriers are a smart addition. They reflect heat rather than absorb it, helping your attic stay cooler.
- Energy efficiency: Reduces attic temperatures by up to 30 degrees.
- Easy addition: Can be installed alongside existing insulation.
- Lightweight: Simple to handle and cut.
Radiant barriers work best when combined with another insulation type for complete protection.
Materials and Tools You’ll Need
Before beginning your DIY attic insulation project, gather all necessary materials and equipment to ensure a smooth process.
- Protective gear: Gloves, goggles, mask, and long sleeves.
- Measuring tools: Tape measure and utility knife.
- Insulation materials: Batts, loose-fill, or foam depending on your choice.
- Staple gun: For securing batt insulation.
- Blower machine: For installing blown-in insulation (usually available for rent).
- Lighting: Portable LED lights for better visibility.
- Ruler or gauge: To verify insulation depth and consistency.
8 Step Process for DIY Attic Insulation
Here’s a breakdown of how to insulate your attic safely and efficiently. Before diving into the process, remember that attic work involves confined spaces, fluctuating temperatures, and exposure to dust or insulation fibers. Preparation is key—clearing debris, checking for leaks, and ensuring proper ventilation will help you complete the job smoothly and avoid costly mistakes.
1. Inspect the Attic
Before installing insulation, inspect for existing issues like leaks, moisture, or pests.
- Roof leaks: Fix before insulating to avoid trapping moisture.
- Mold or mildew: Clean thoroughly and identify the cause.
- Air leaks: Seal around vents, light fixtures, and attic doors with caulk or foam.
A dry, sealed attic provides the best foundation for insulation.
2. Determine Insulation Needs
Check your attic’s current insulation depth. Most Florida homes should have R-30 to R-60 insulation for optimal performance.
- Measure depth: Use a ruler to see how much insulation already exists.
- Identify gaps: Look for thin spots or exposed joists.
- Plan your coverage: Add enough material to reach the recommended R-value.
3. Prepare the Area
Clear the attic floor of debris and ensure there’s a safe walking path.
- Install baffles: Keeps insulation from blocking soffit vents.
- Mark depth guides: Helps ensure even application.
- Protect recessed lights: Use covers rated for insulation contact (IC-rated).
4. Install the Insulation
The process differs slightly based on the material you’ve chosen.
- For fiberglass batts: Unroll between joists, fitting snugly without compressing.
- For blown-in insulation: Use a blower machine to evenly distribute material.
- For radiant barriers: Staple reflective foil across rafters, shiny side facing the attic.
Work from the farthest corner toward the exit to avoid trampling finished areas.
5. Seal Air Leaks and Gaps
After installation, double-check for air gaps where heat or moisture could escape.
- Use spray foam: Around plumbing penetrations and electrical boxes.
- Seal attic hatches: Add weatherstripping to improve the air barrier.
- Inspect vent openings: Make sure airflow remains unobstructed.
6. Check Ventilation
Proper airflow prevents heat buildup and moisture problems.
- Clear soffit vents: Allow cool air intake.
- Ensure ridge or gable vents are open: Hot air must escape properly.
- Avoid covering vents: Keep insulation at least 3 inches away.
7. Evaluate Results
Once your insulation is in place, check your home’s comfort and energy performance over the next few weeks.
- Monitor energy bills: You should notice lower cooling costs.
- Check attic temperature: It should stay closer to outdoor air levels.
- Inspect regularly: Look for settling or compressed insulation.
8. Maintain Your Insulation Over Time
Good insulation lasts decades, but it still requires occasional attention.
- Inspect annually: Especially after heavy rain or roof leaks.
- Replace damaged areas: Wet or compacted insulation loses effectiveness.
- Add more layers if needed: Over time, settling may reduce depth.
4 Mistakes to Avoid in DIY Attic Insulation
Homeowners often make small errors that can reduce insulation effectiveness.
- Compressing the Insulation: Pressing down insulation reduces its R-value and ability to trap air. Always allow materials to expand fully.
- Blocking Airflow: Avoid blocking soffit or ridge vents, which are essential for attic ventilation. Without airflow, moisture can accumulate.
- Ignoring Safety Gear: Fiberglass particles and dust can irritate your skin and lungs. Always wear proper protection.
- Skipping Leak Repairs: Installing insulation over a roof leak traps moisture, leading to mold and rot. Always fix leaks first.
When To Call a Professional
While many homeowners can handle basic insulation upgrades, professional help ensures maximum efficiency.
- Large attics: Professionals can complete the job faster and safer.
- Spray foam projects: Require skill to apply evenly and correctly.
- Complex layouts: Professionals can seal hard-to-reach corners and odd spaces.
For homeowners in Niceville and surrounding areas, a local insulation specialist can also assess whether your attic meets current Florida energy standards.
Stay Comfortable With Quality Roofing Solutions
Improving your home’s insulation is one of the smartest investments you can make. Whether you’re tackling a DIY attic insulation project or considering professional installation, proper materials and technique make all the difference.
At Quality Roofing Solutions, we help homeowners in Niceville and surrounding areas create energy-efficient, comfortable homes. Our experts inspect, recommend, and install high-quality roofing systems tailored to Florida’s climate. Contact us today for a free estimate and find out how better insulation can make your home more efficient year-round.